
STEP BY STEP DEMONSTRATION OF THE CREATION OF AN ILLUSION
Scroll down to see the different stages of development of “The Other Side of The Mirror”.
STEP BY STEP DEMONSTRATION OF THE CREATION OF AN ILLUSION
Scroll down to see the different stages of development of “The Other Side of The Mirror”.


If you are interested to see how one of my illusions is constructed, you can follow the creation of “The Other Side of The Mirror” here.
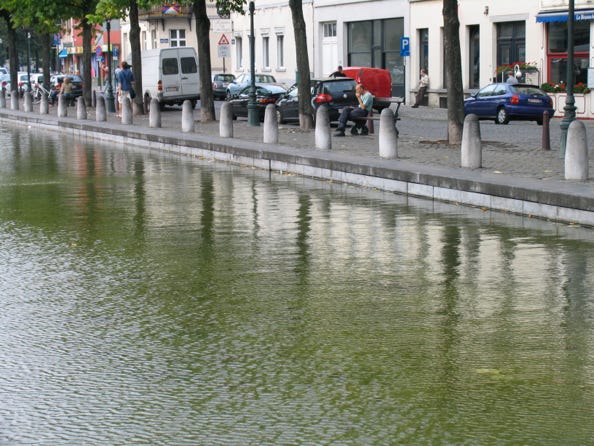
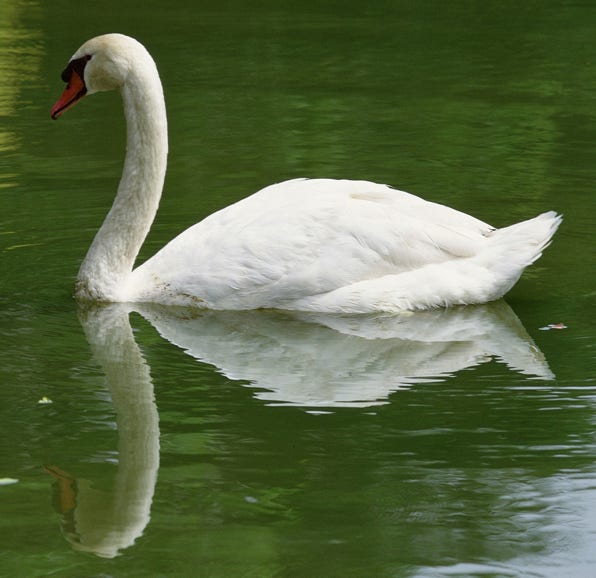
When applicable, source photographs will be shown beside the main image.
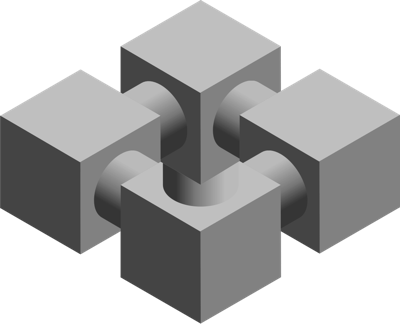
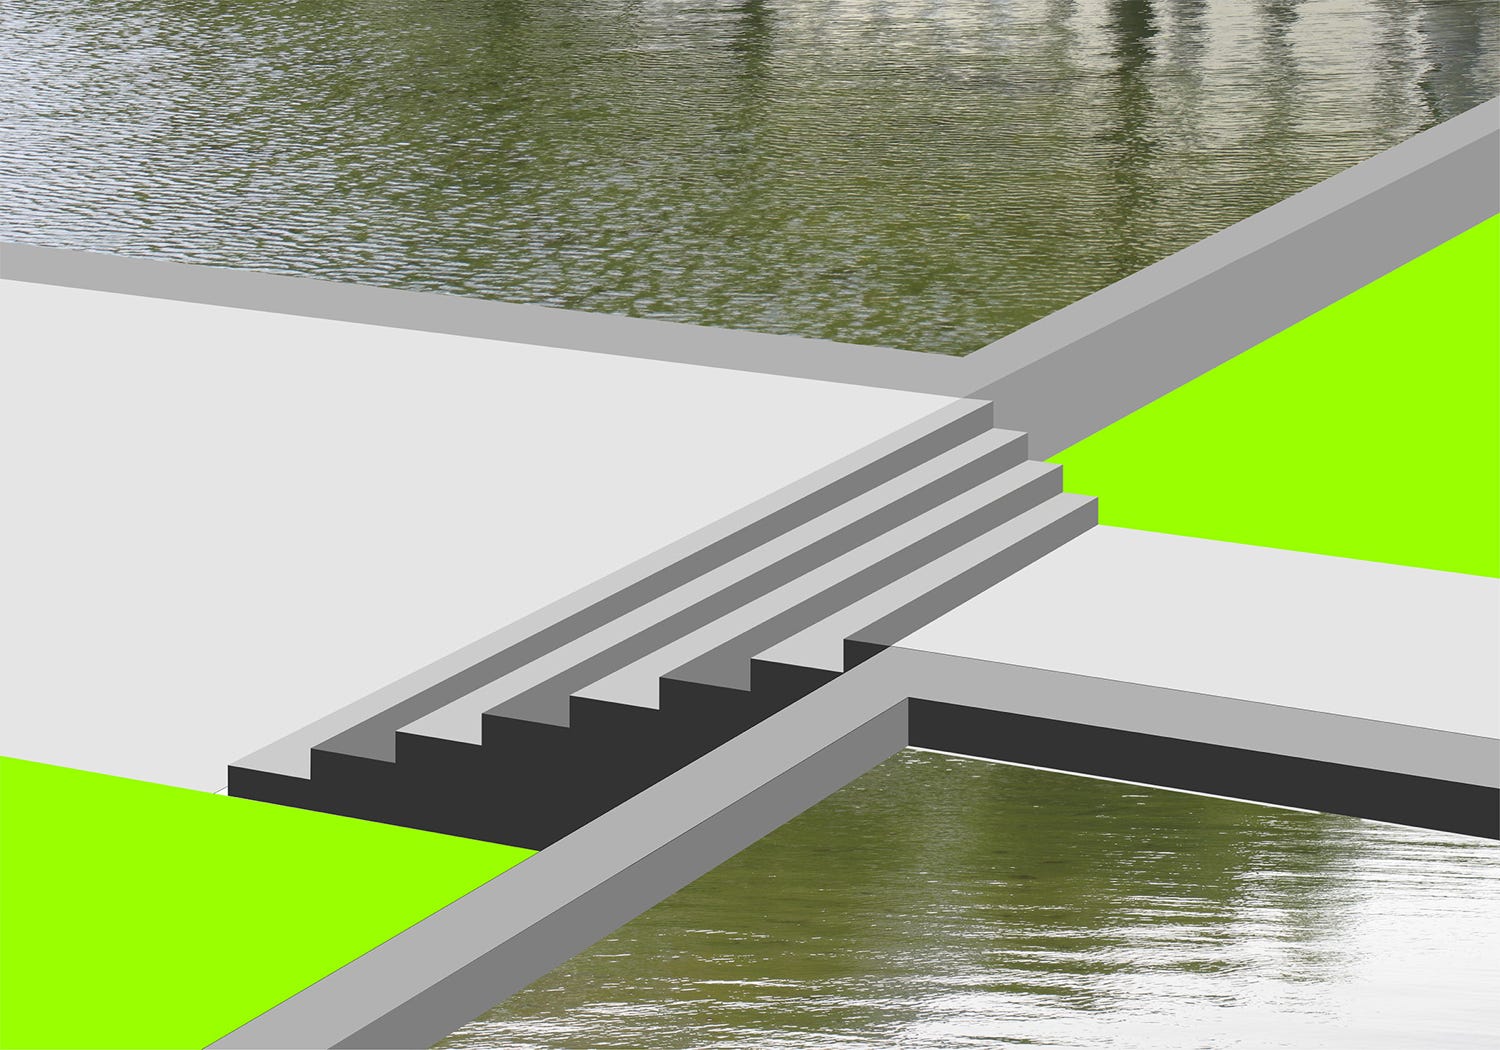
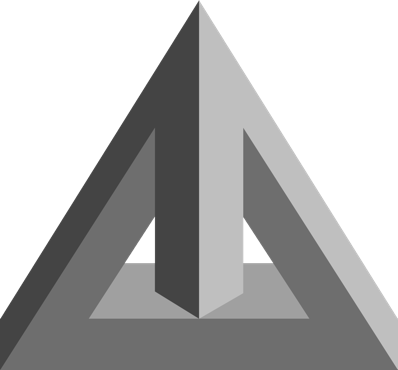
Although every illusion is different with its own special circumstances and problems, the starting point is almost always a geometrical construction.
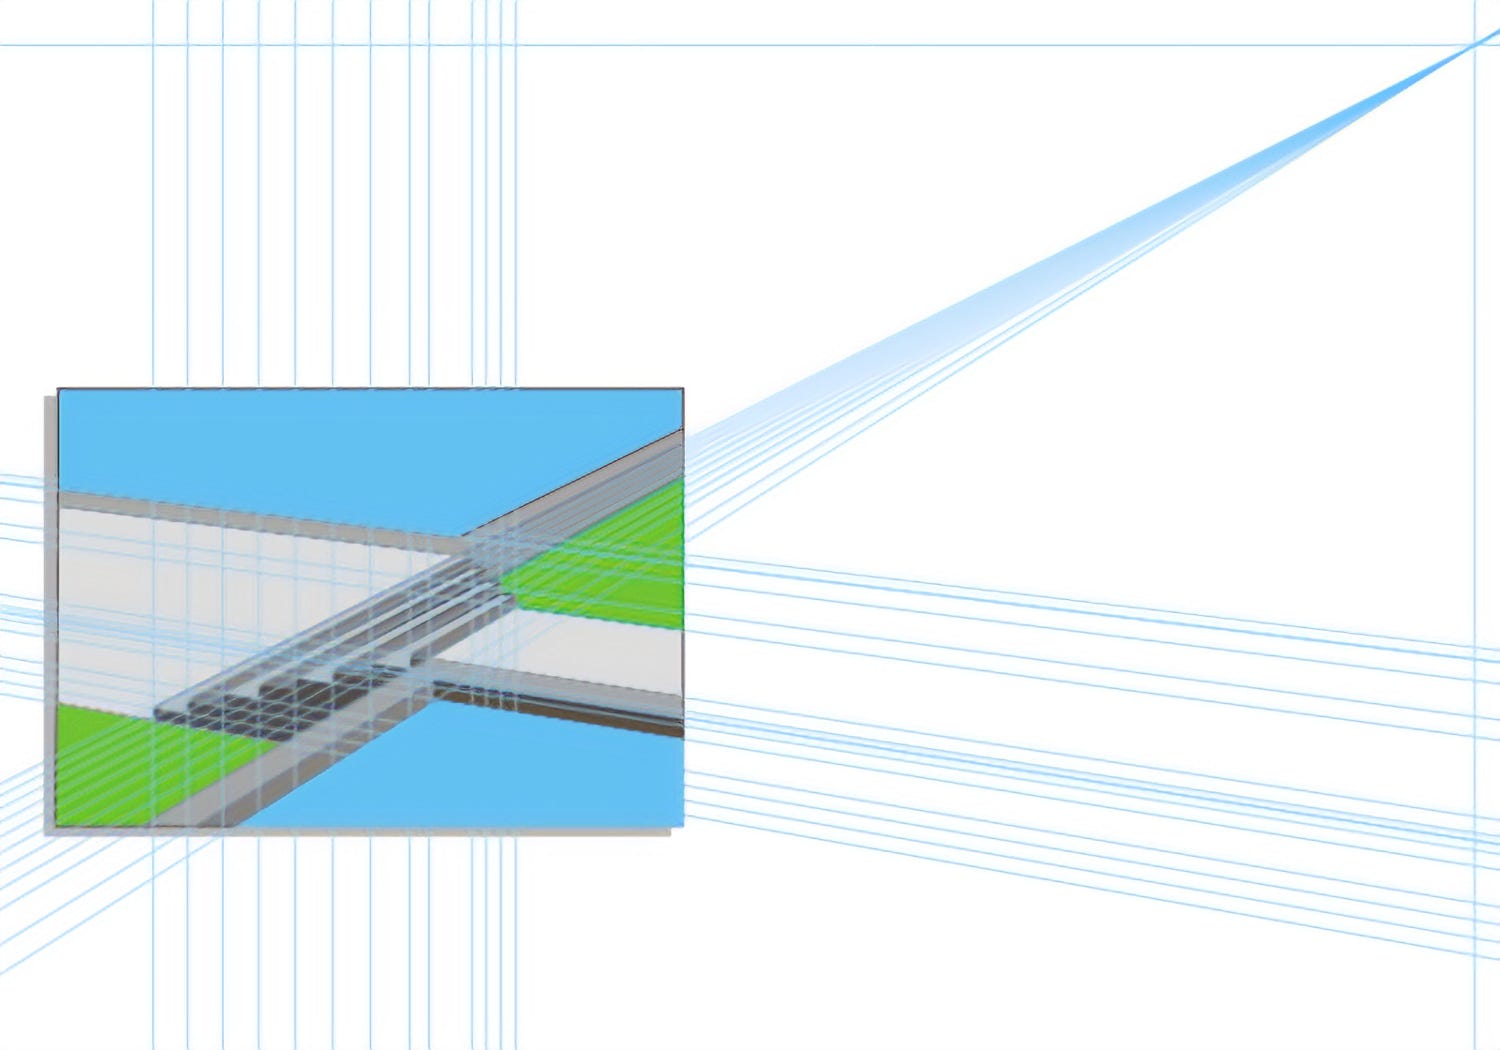
In this case the steps have been constructed in classical twin vanishing point perspective. Because we are looking down on them the vertical parallels should converge to a third vanishing point off the bottom of the page. I have deliberately chosen to ignore this and have cheated the verticals to be parallel. Once the image has been ‘clothed’ photographically this will not be apparent except to a very keen trained eye. This kind of deliberate breaking of the rules lies at the heart of most illusions.
I have constructed this base image in 2D using vector software. It is not often that I use 3D software for illusions as it is difficult to persuade 3D software to create objects that do not truly exist in 3D space.
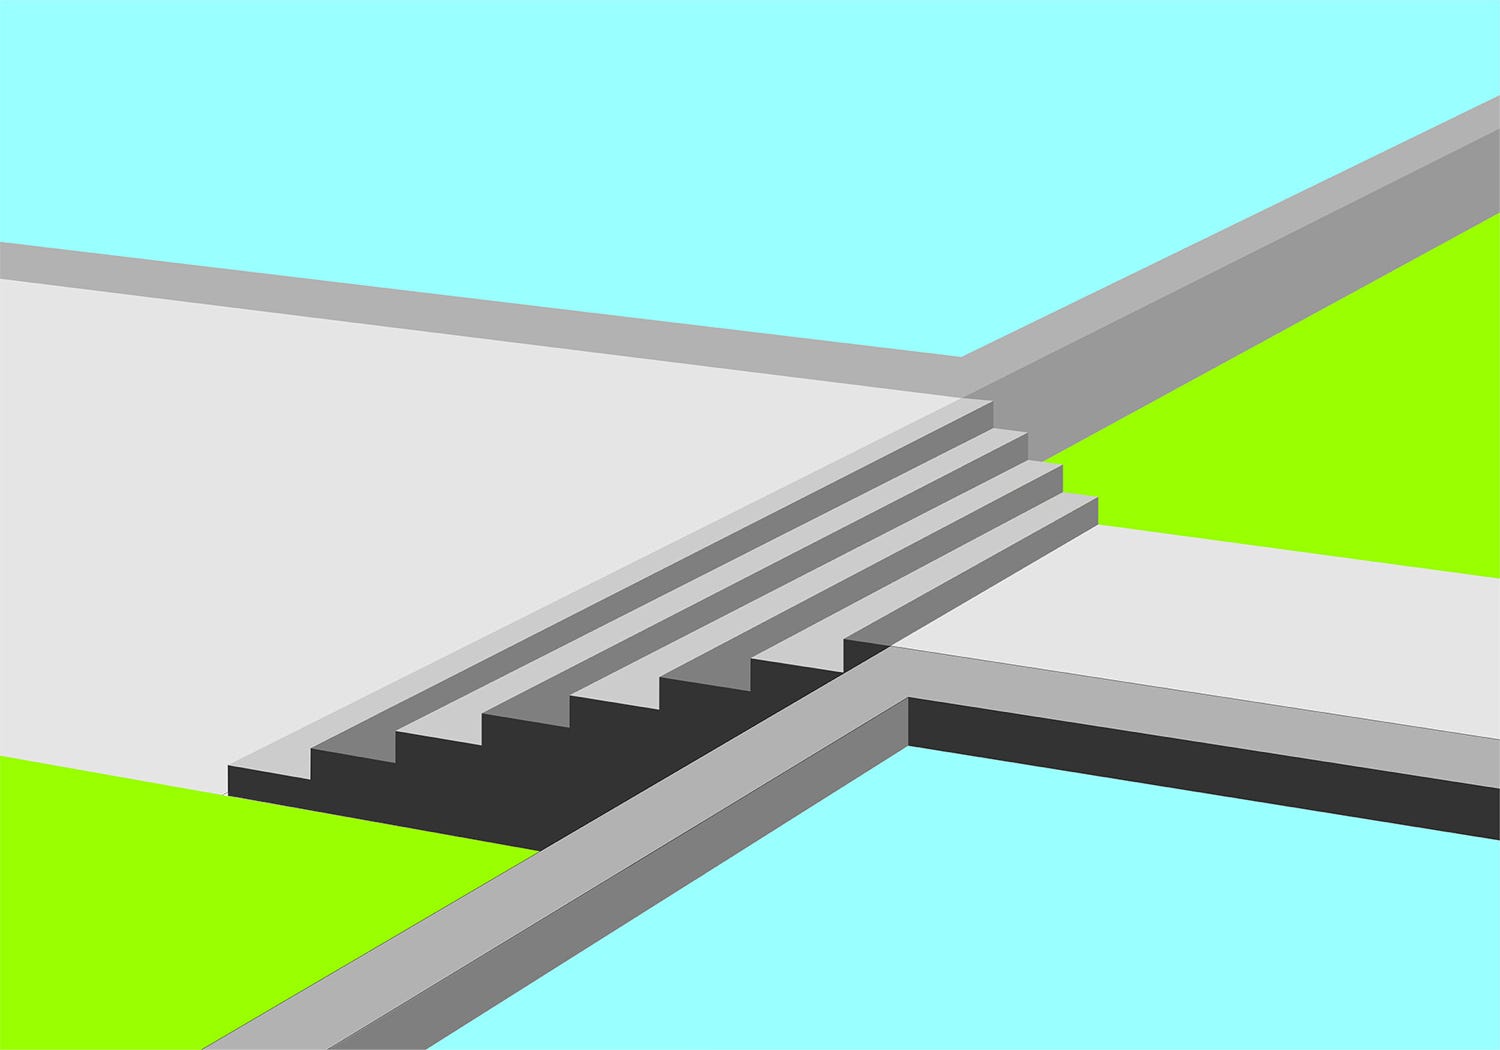
The construction is brought into Photoshop where it becomes the template for all subsequent work.
This is also printed and carried with me to use as a guide for matching viewpoints when I take the photographs that will be needed to ‘clothe’ the image.
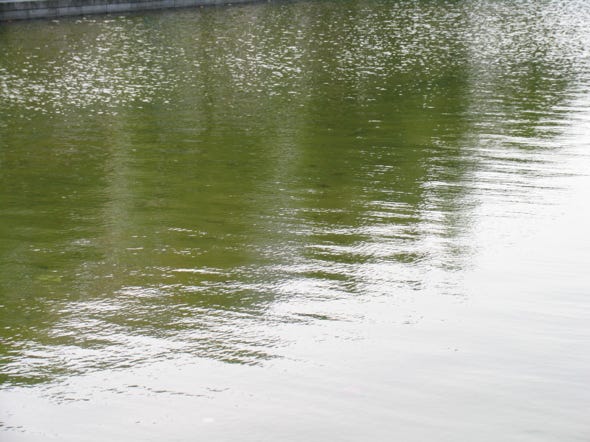
Water is added.
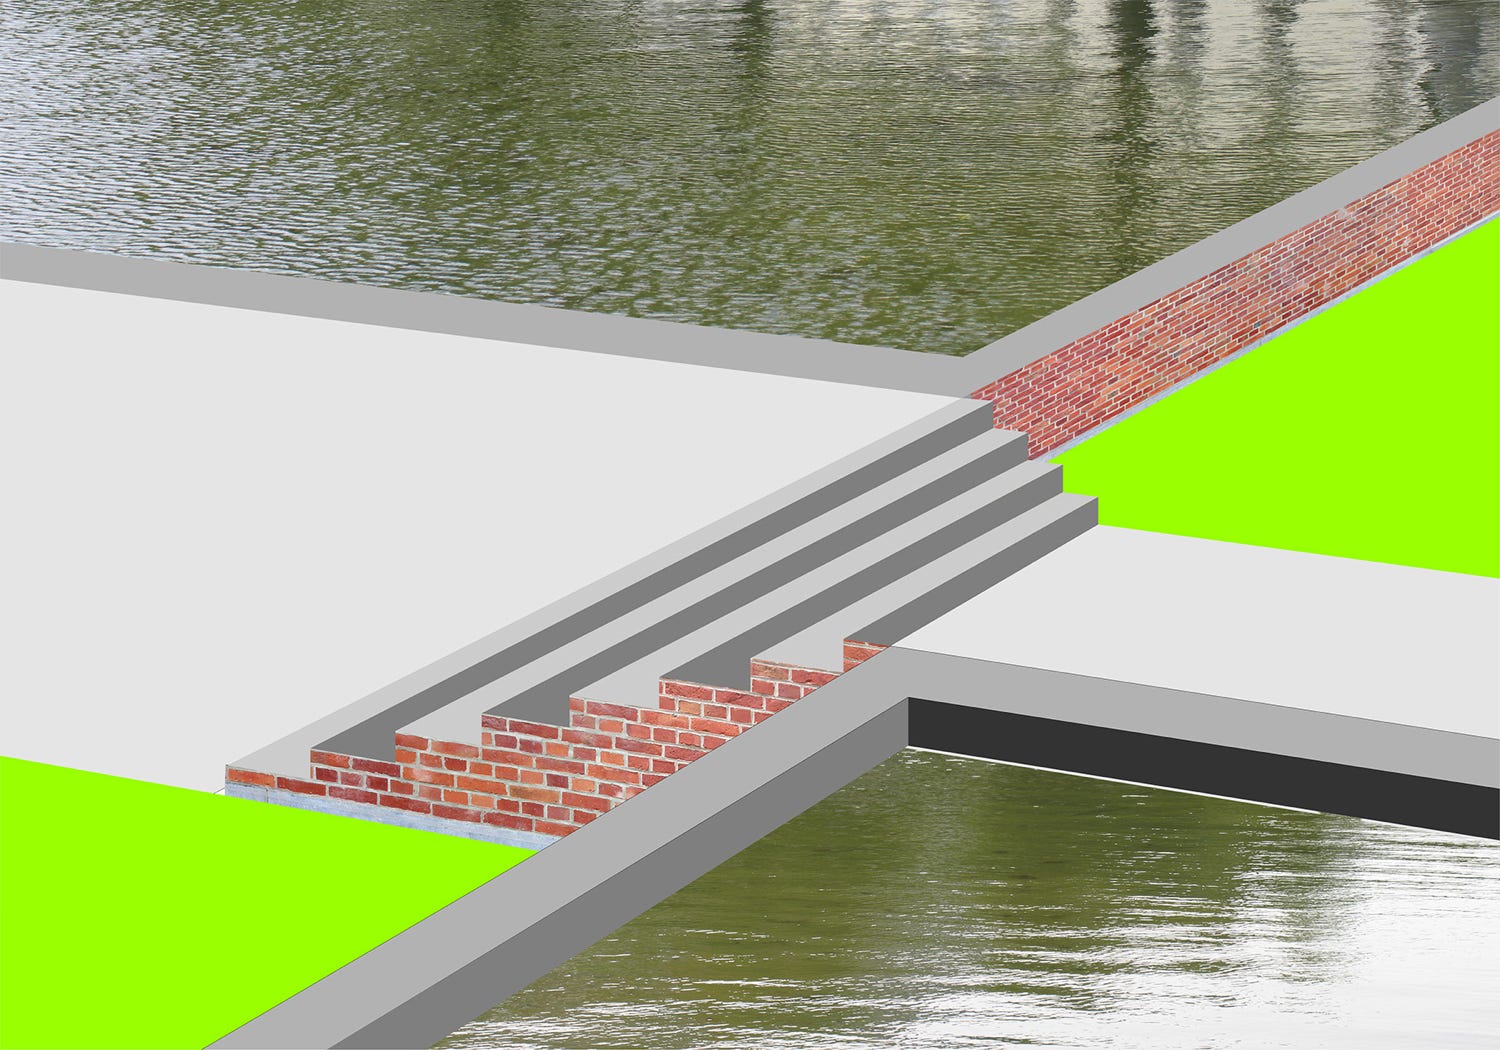
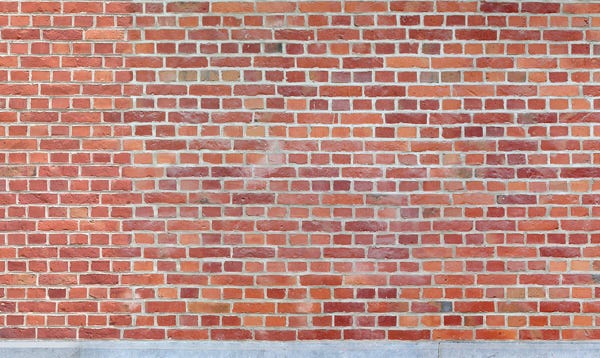
Brick is added and shaped to conform to the perspective ....
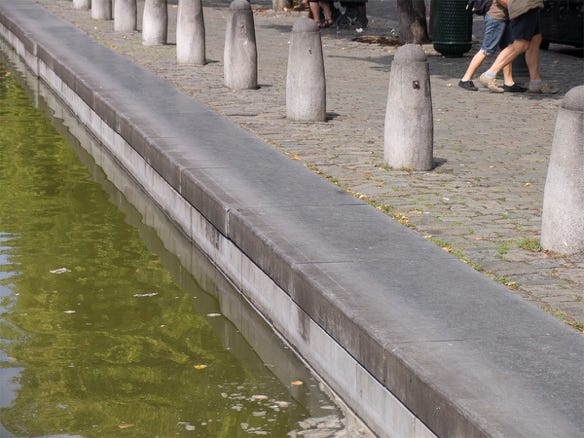
....... and stone edgings added to the water.
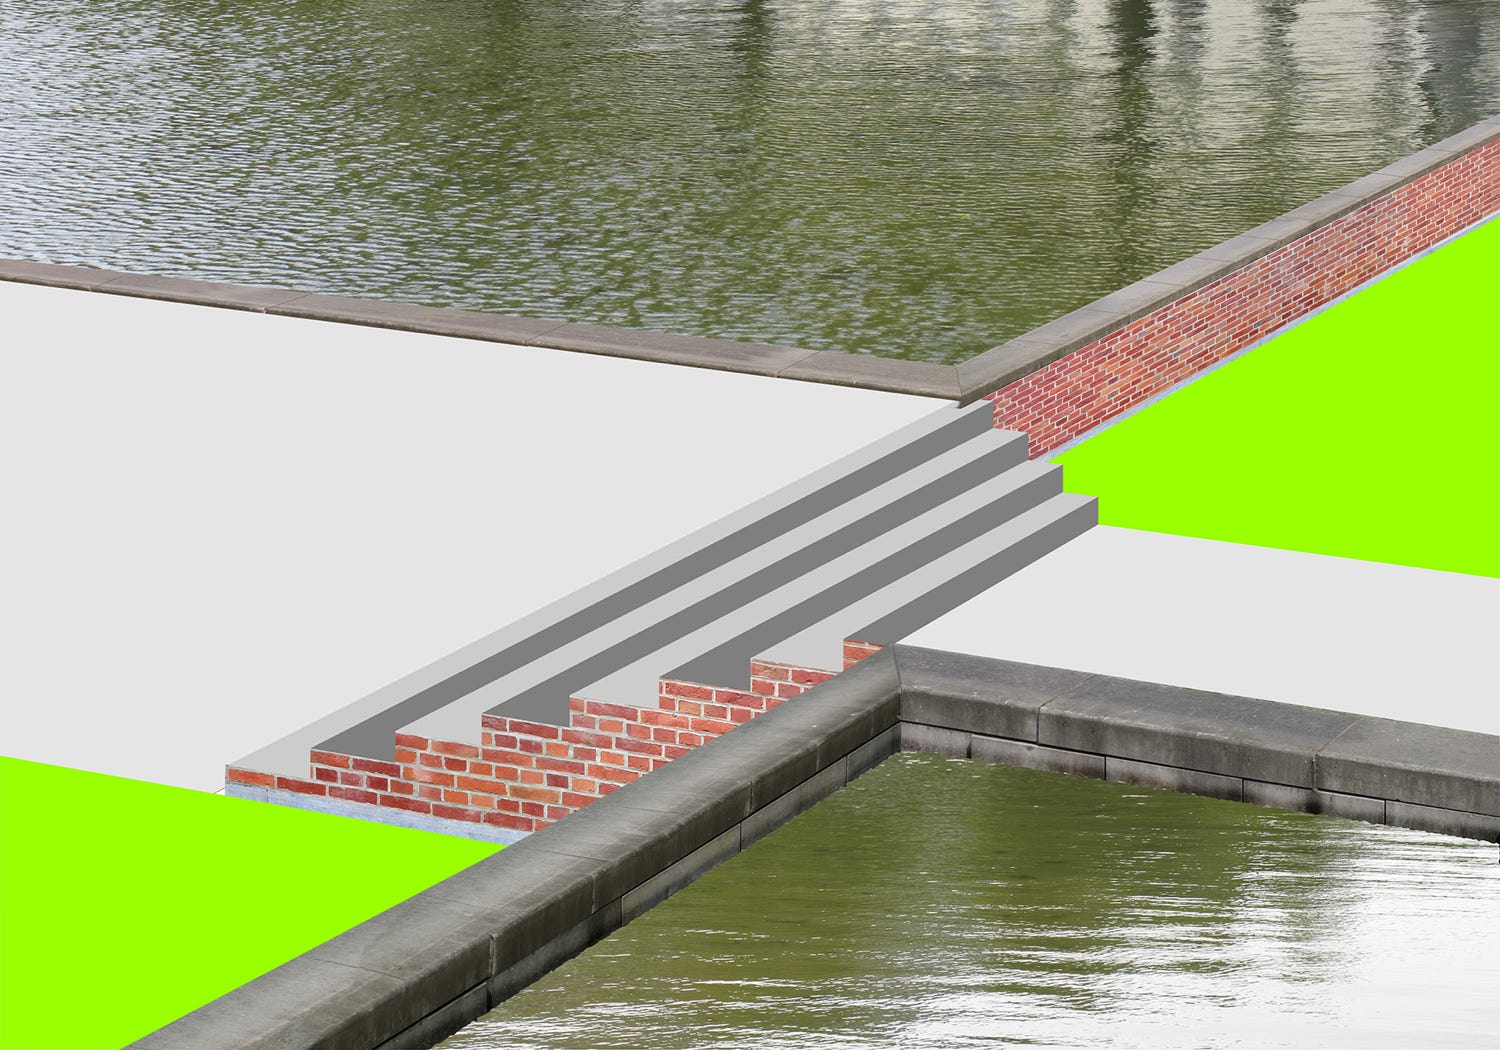
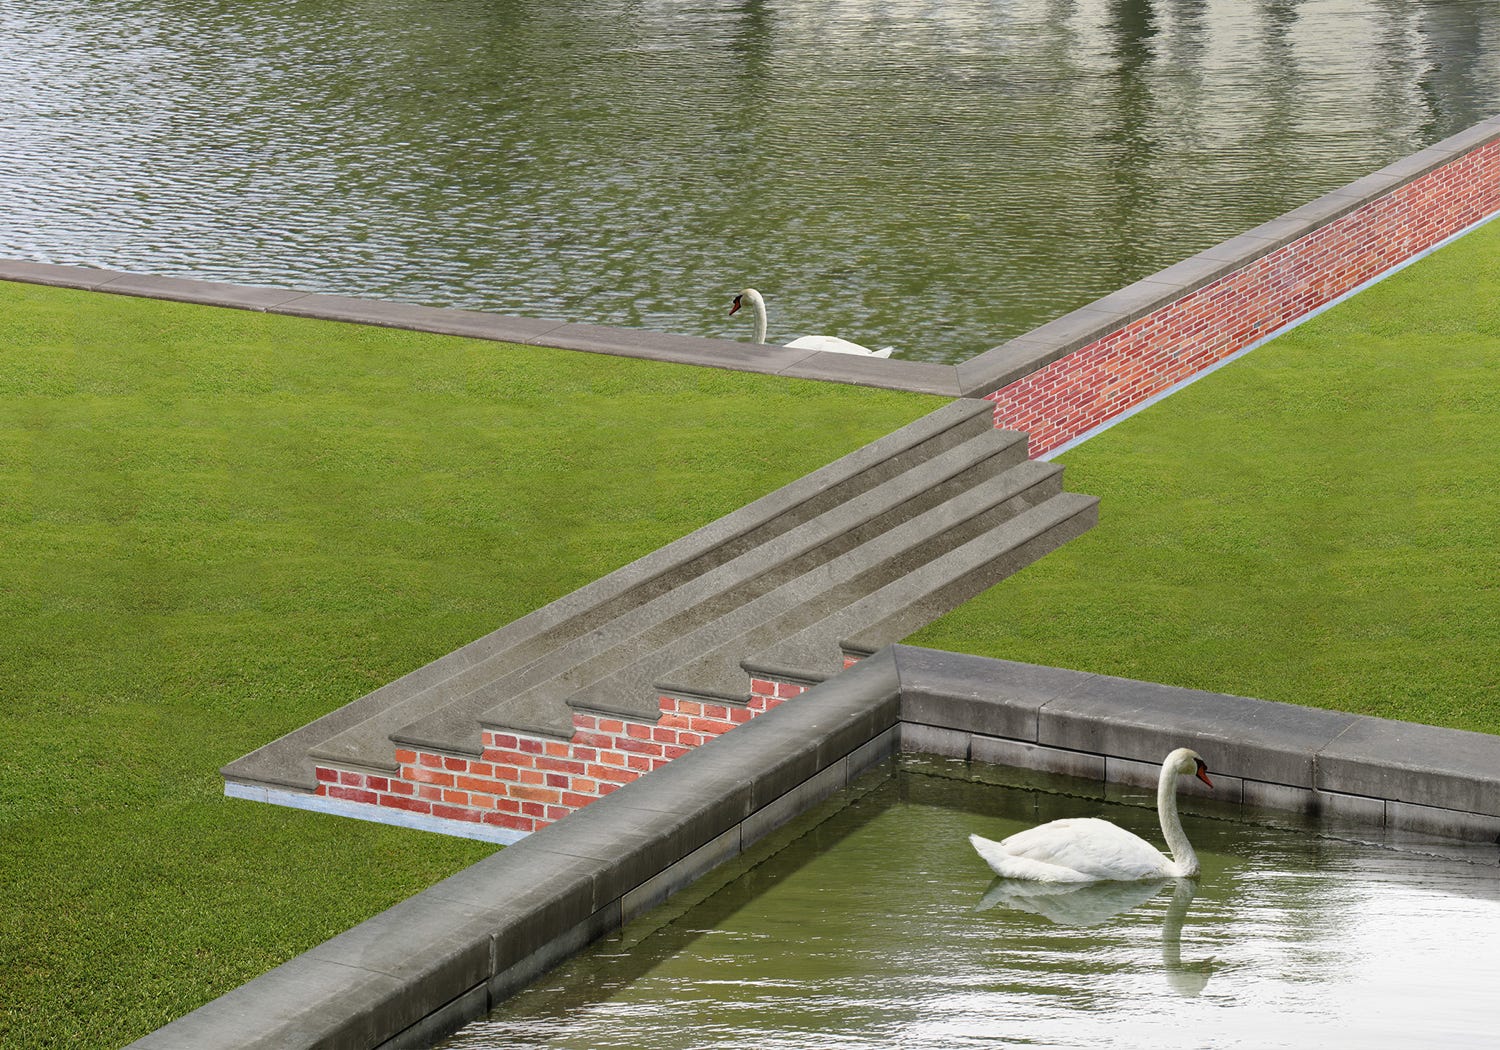
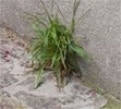
A simple stone texture is applied to the steps and grass is added.
Our basic textures are now in place ...
….. but it scarcely looks convincing .....
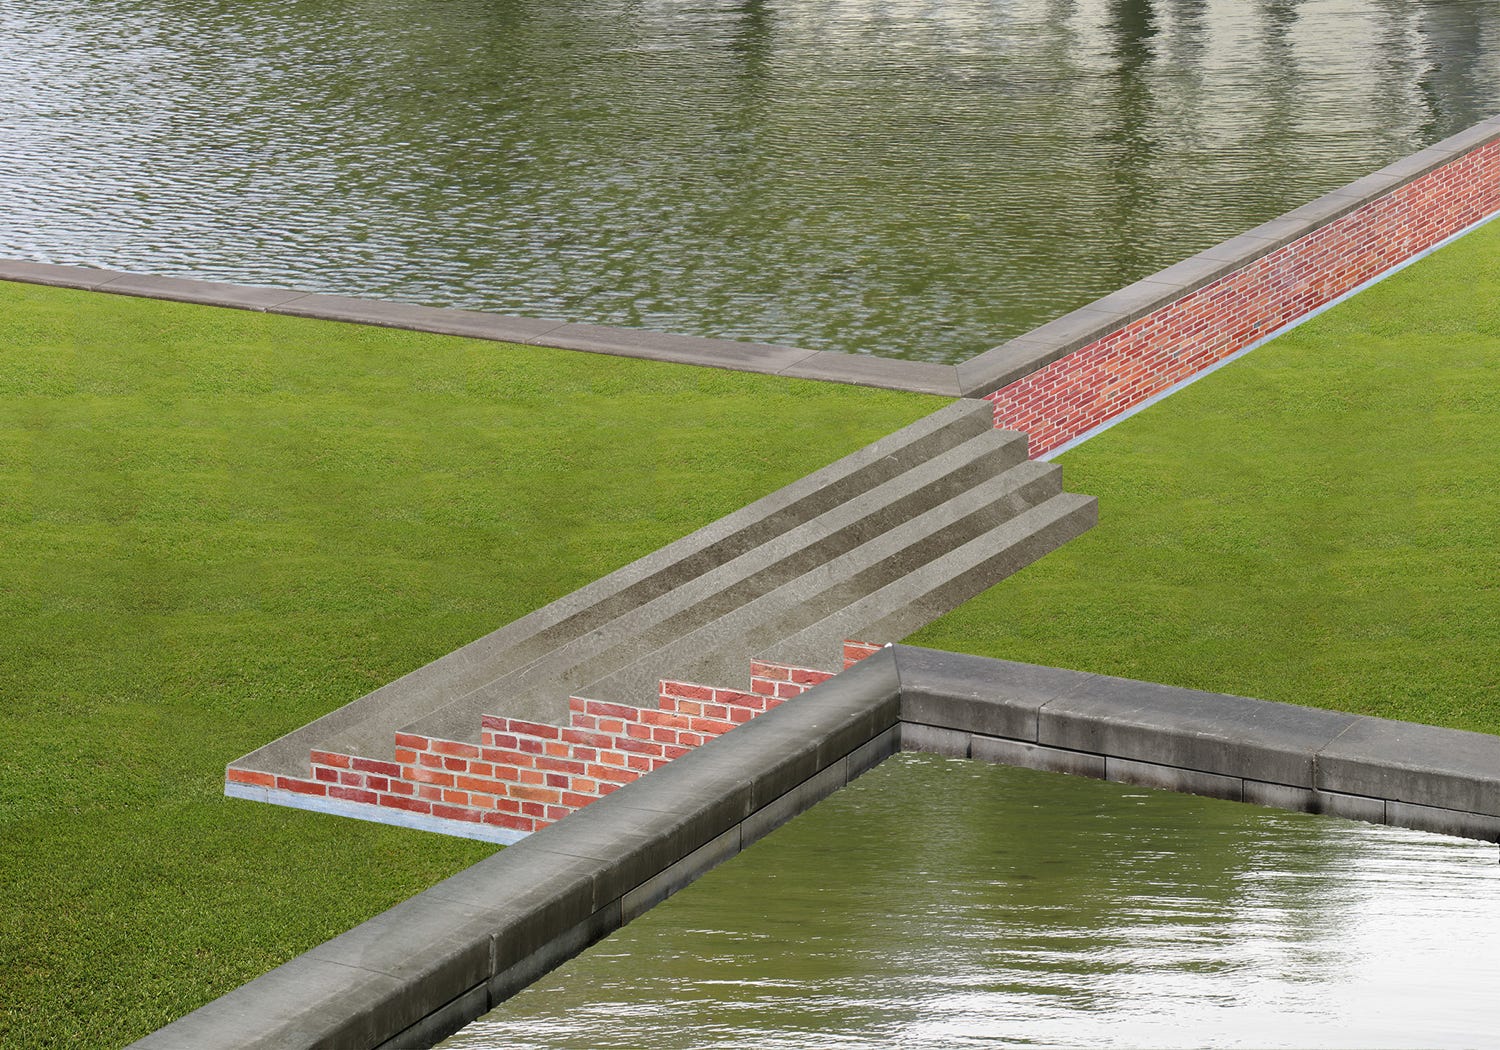
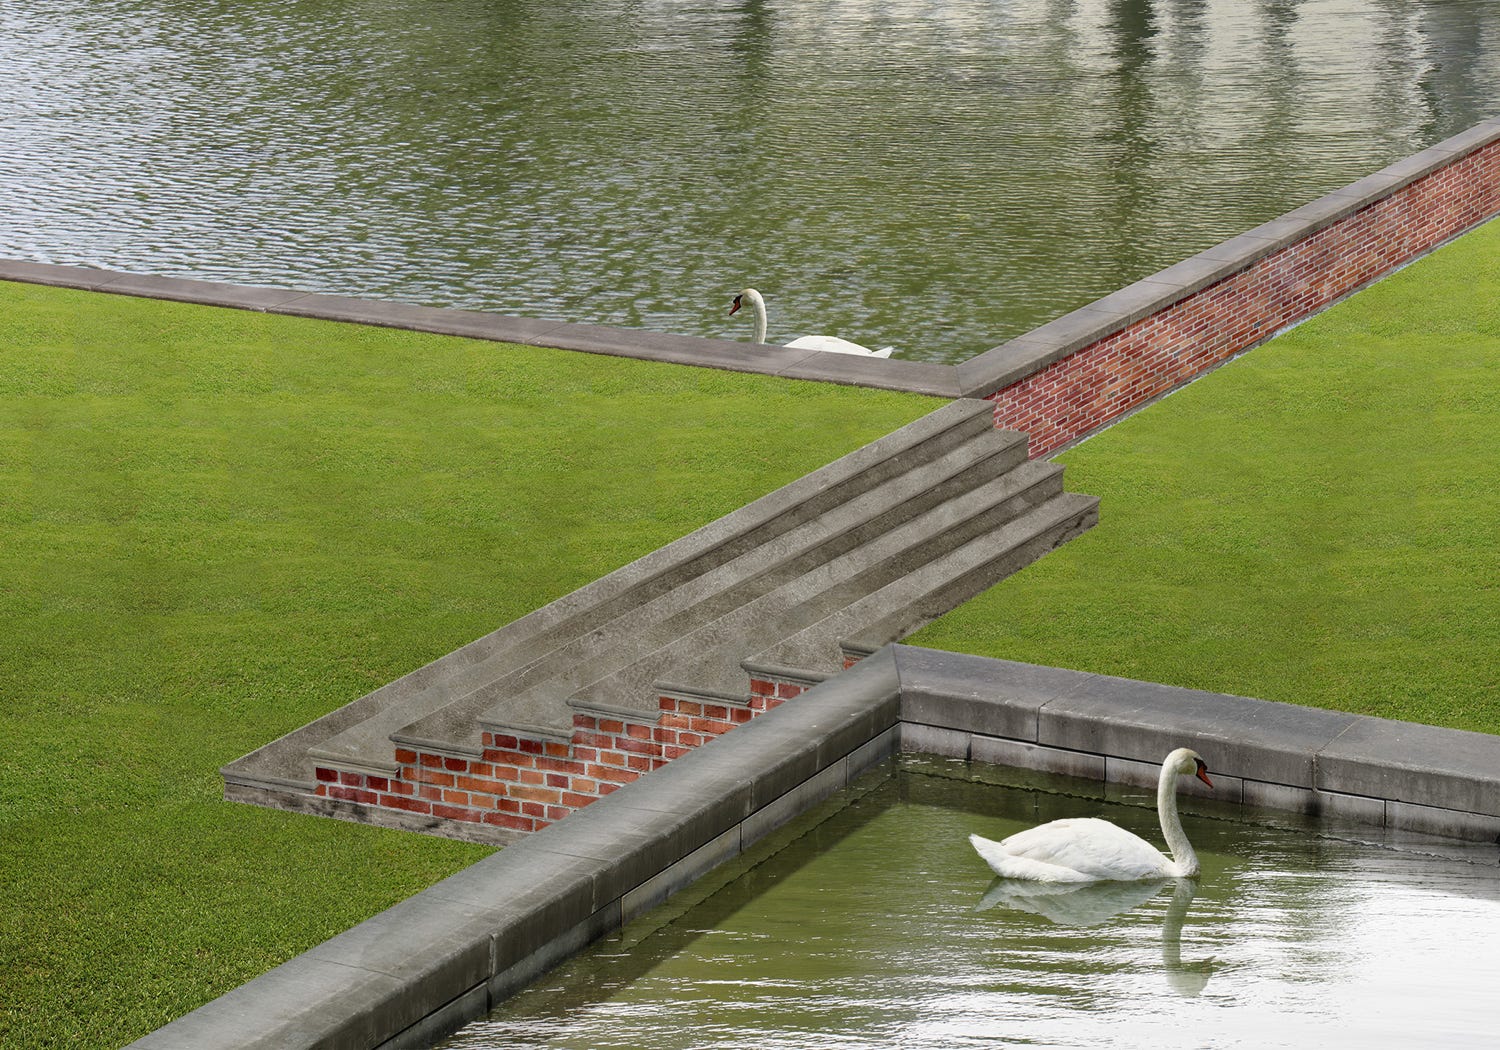
This where the real fun starts, breaking down the newness and adding all the little details that will add conviction.
A reflection of the stone edging is created for the foreground water and ‘mirrored’ swans are added.
Rounded edges are painted by hand onto the steps.
This is starting to look better but it still looks too new and pristine.
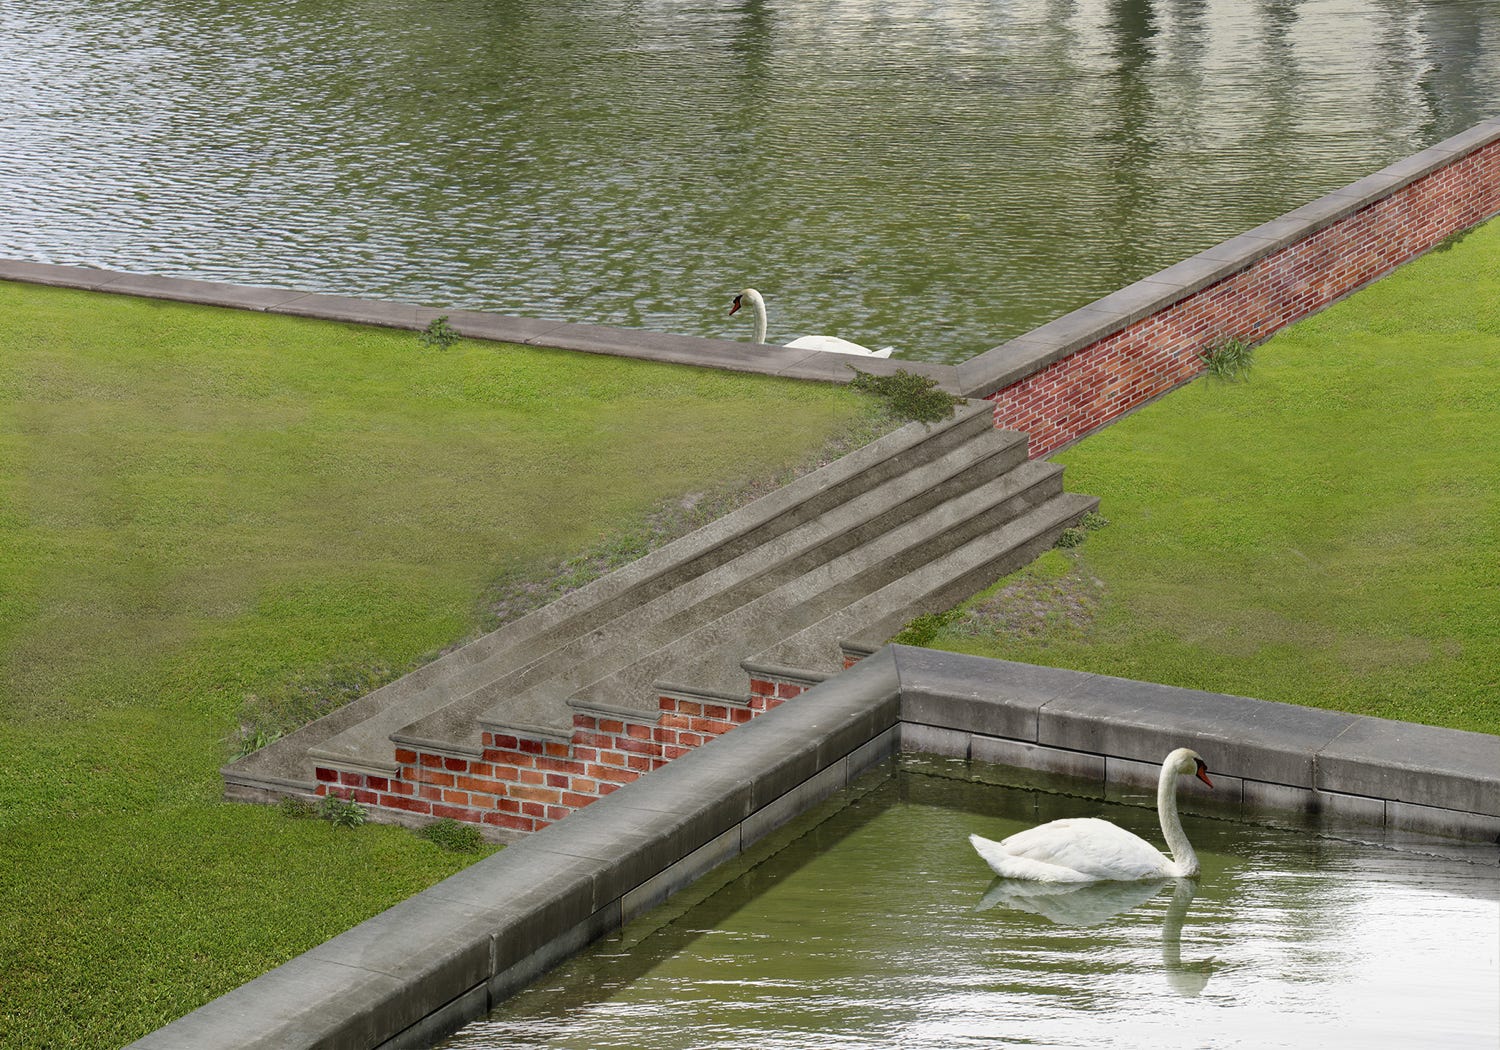
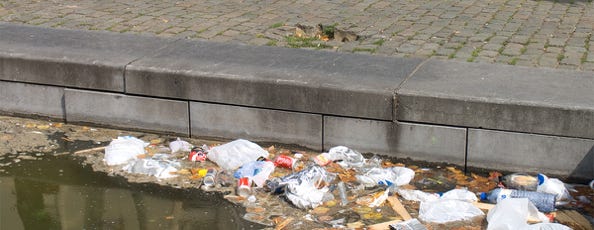
Distressing and splotching are painted over the brick and stone steps to make them look as if they have been exposed to the elements.
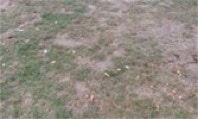
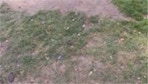
The next thing to attack will be the grass it looks far too ‘manicured’.
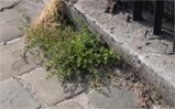
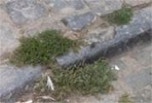
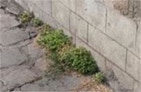
The grass has been discoloured where people have walked on it. The edges have been roughend where it meets the walls and stonework, and some weeds have been added.
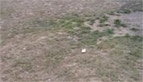
Much severer distressing has been applied to the grass where people step on and off the steps.
This is starting to look more convincing.
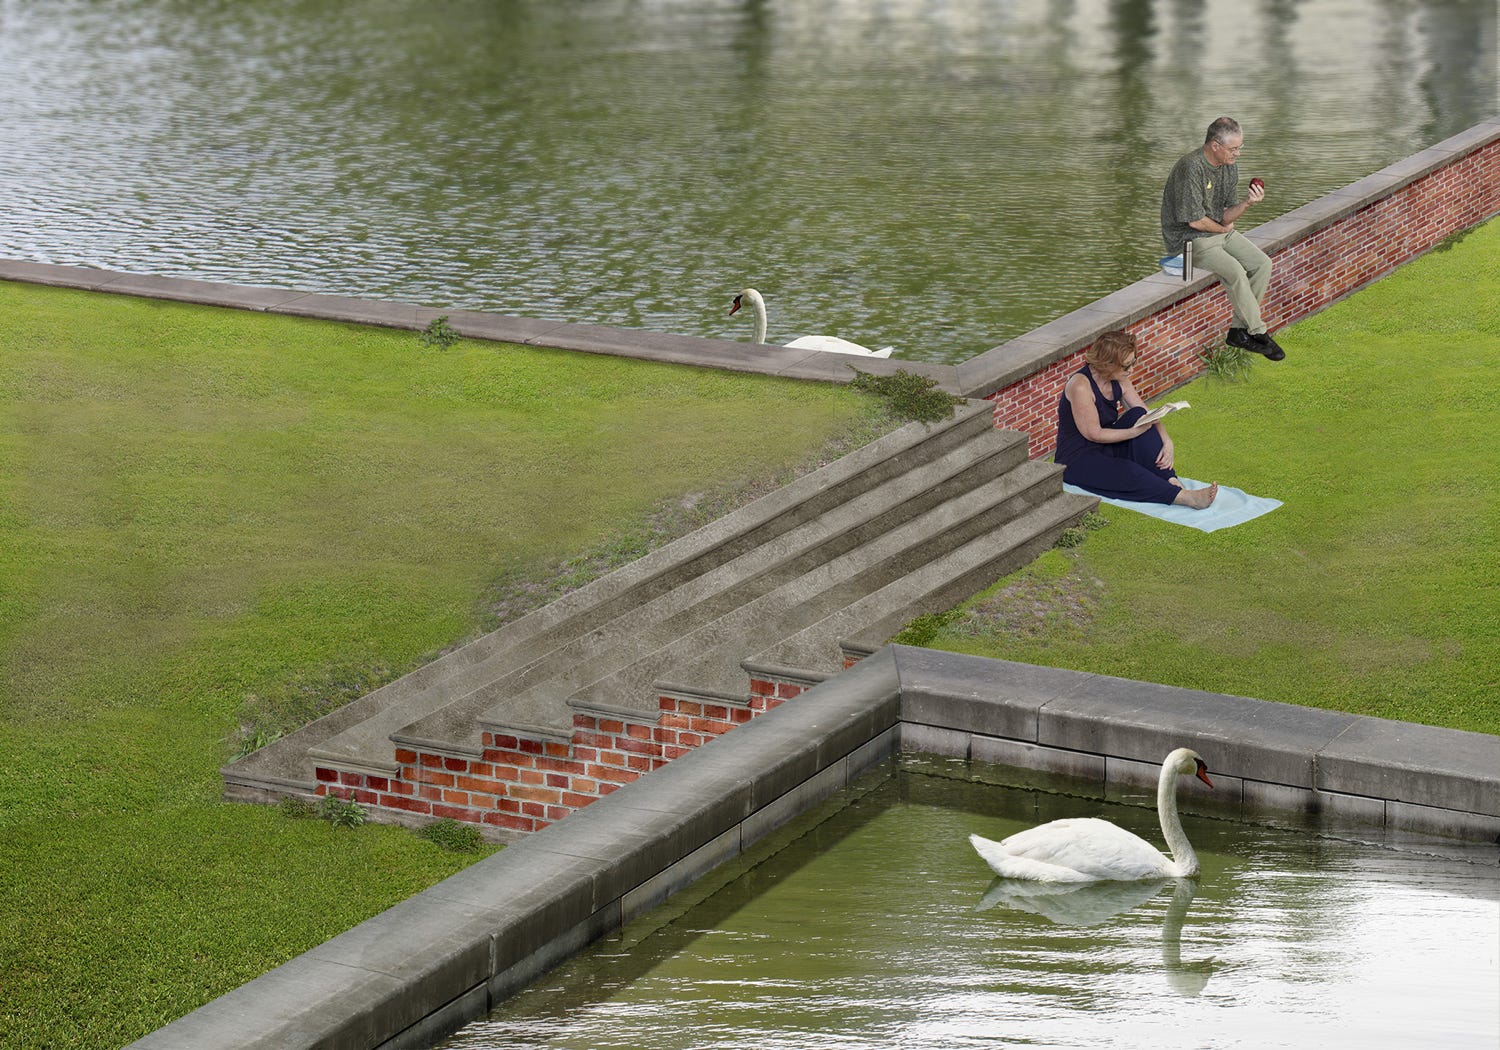
Time to add the people ......
The far water has been blurred a litte with distance.
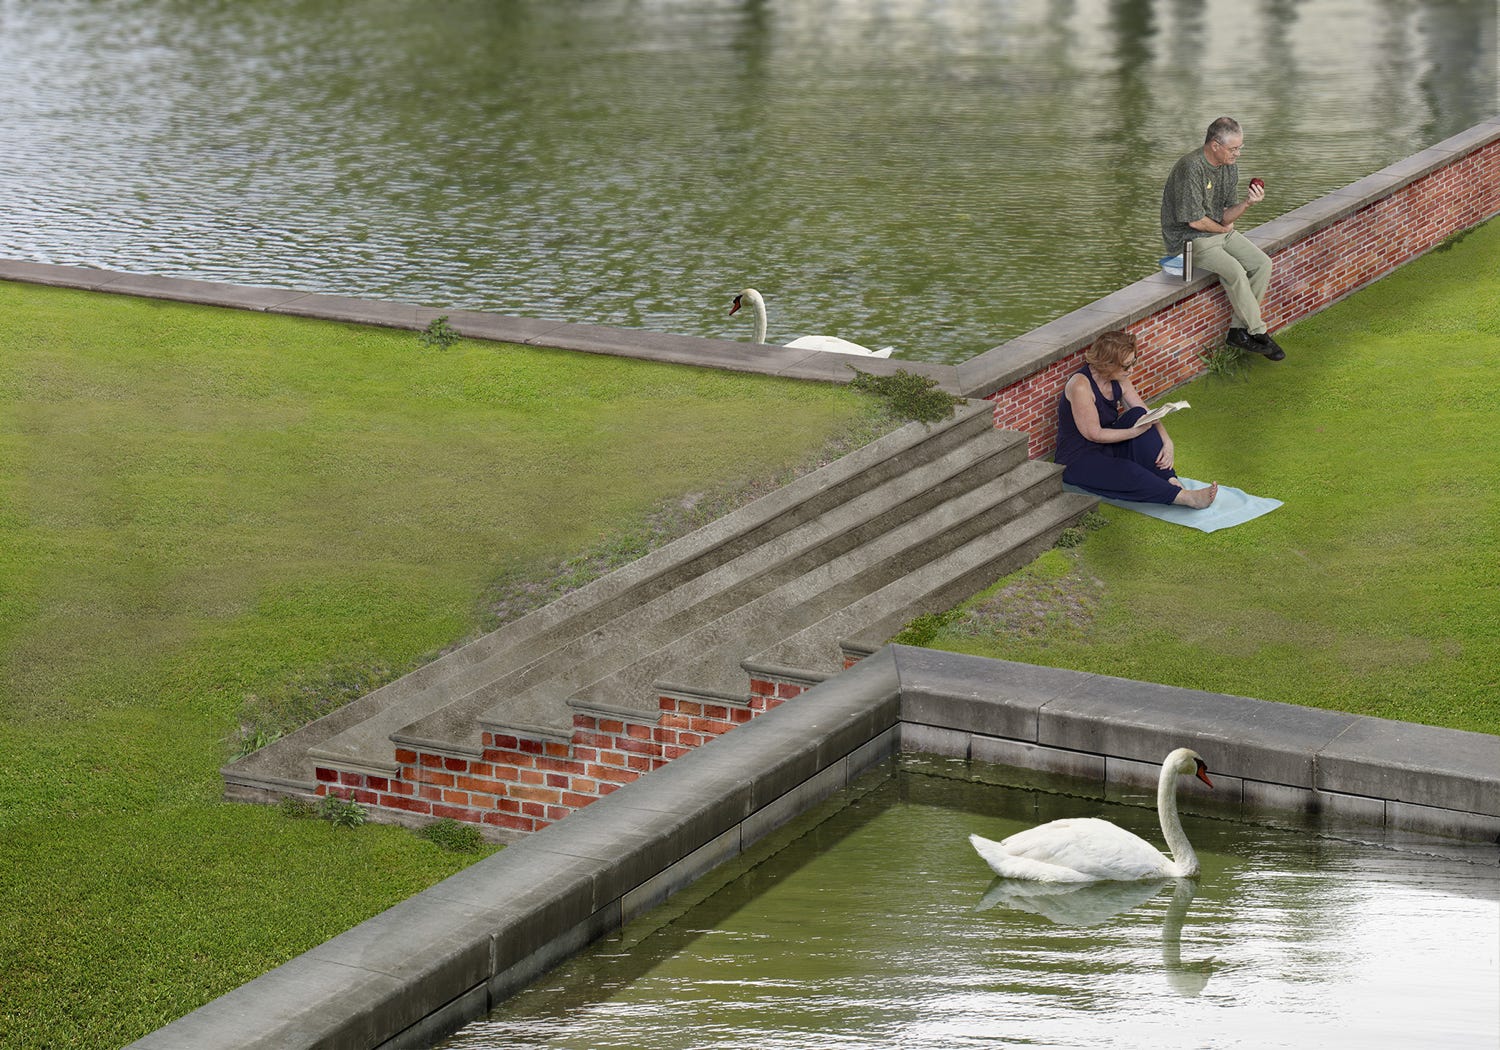
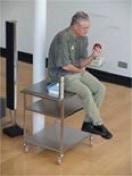
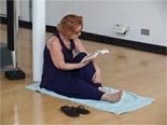
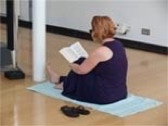
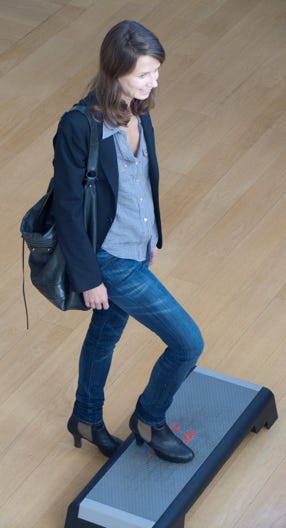
A man and a woman are added to the background. They have been carefully posed and photographed under controlled conditions. The camera angle is chosen with great care so that they will fit correctly into their pre-assigned position in the image.
These were photographed inside my Brussels loft, which often doubled as an impromptu studio.
And now an incredibly important phase. Shadows on the ground from the figures and the wall have been added and shadows from the figures on the wall itself also. These are painted by hand.
Shadows are the ‘glue’ that binds the figures to their background and makes them belong there. Look back at the previous image and then look at this again. It is surprising what a difference the gentle shadows make.
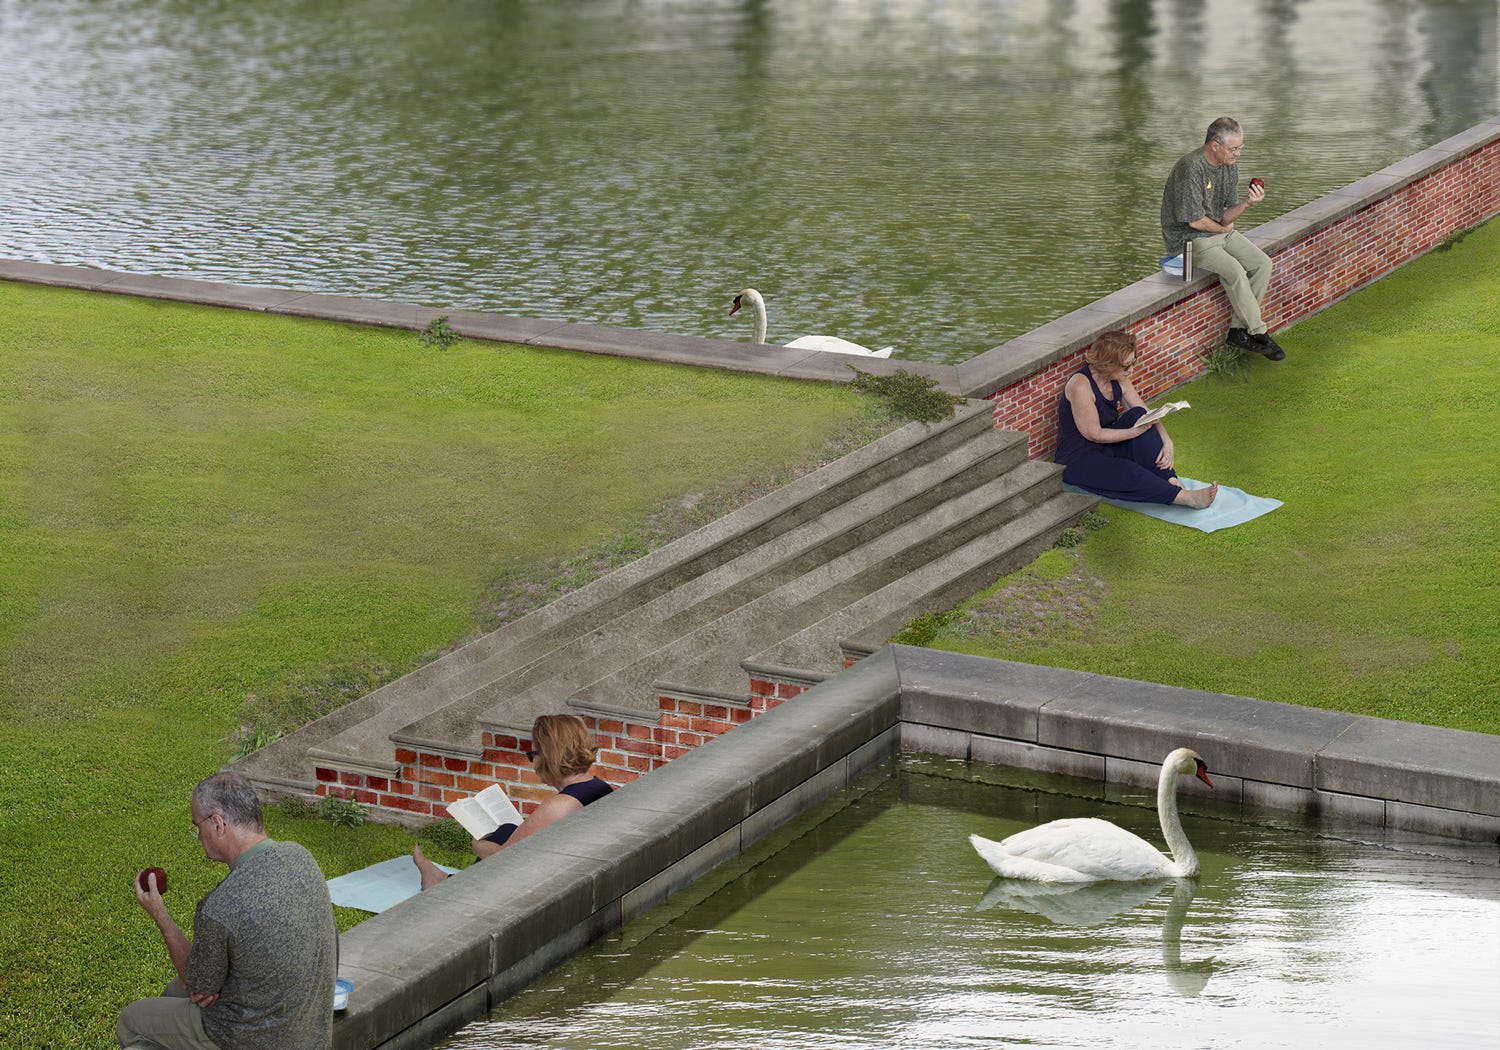
Now the ‘mirrored’ foreground figures have been added and a soft shadow applied on the ground beneath the foreground brickwork.
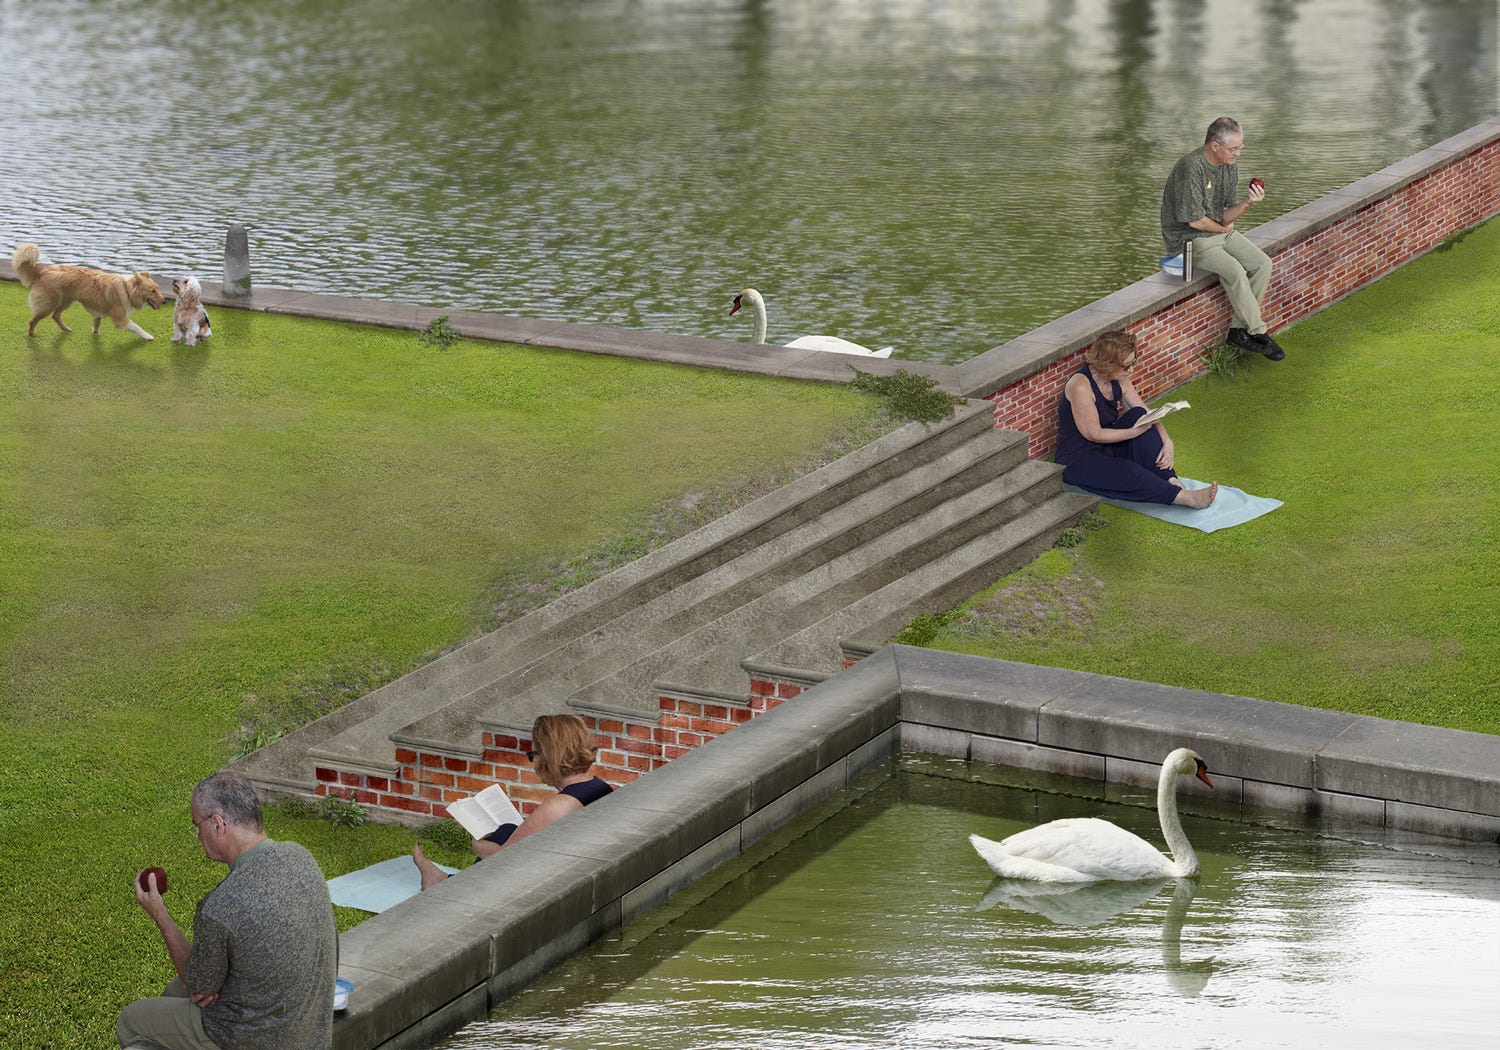
At this point I felt the left side of the image was too empty so I added a couple of dogs and a convenient post in case they felt the need for it.
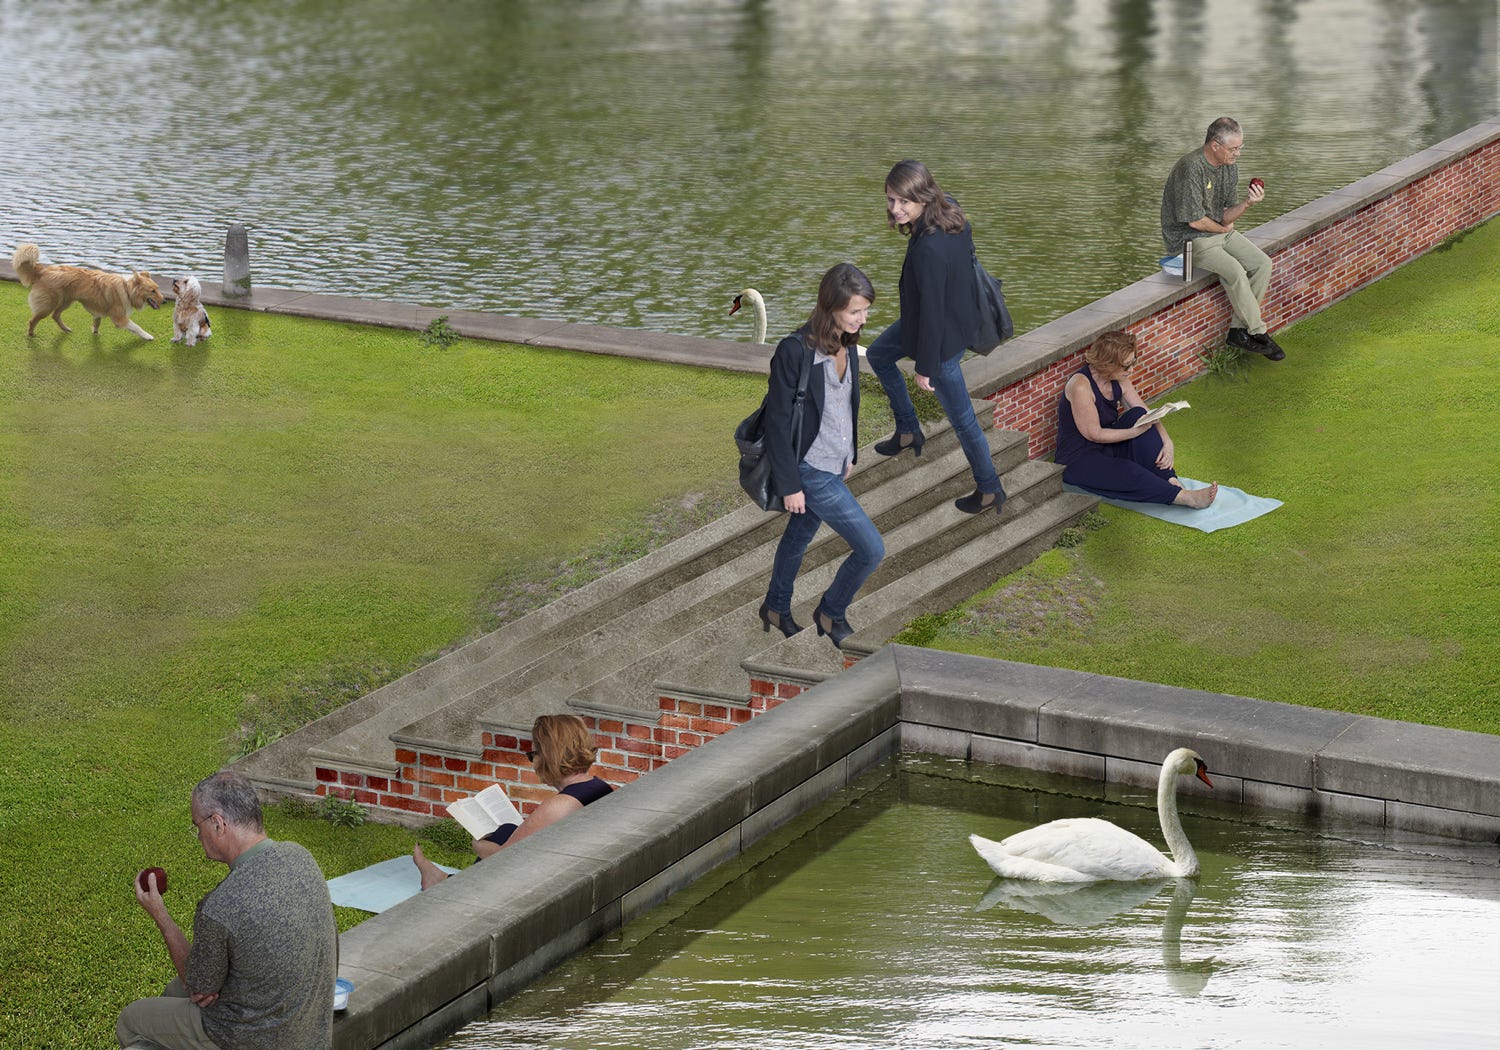
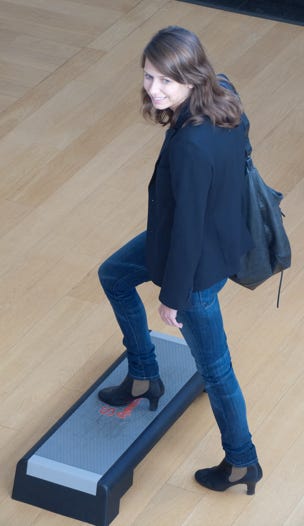
The last stage is to add the main figure crossing with herself.
Almost done ........
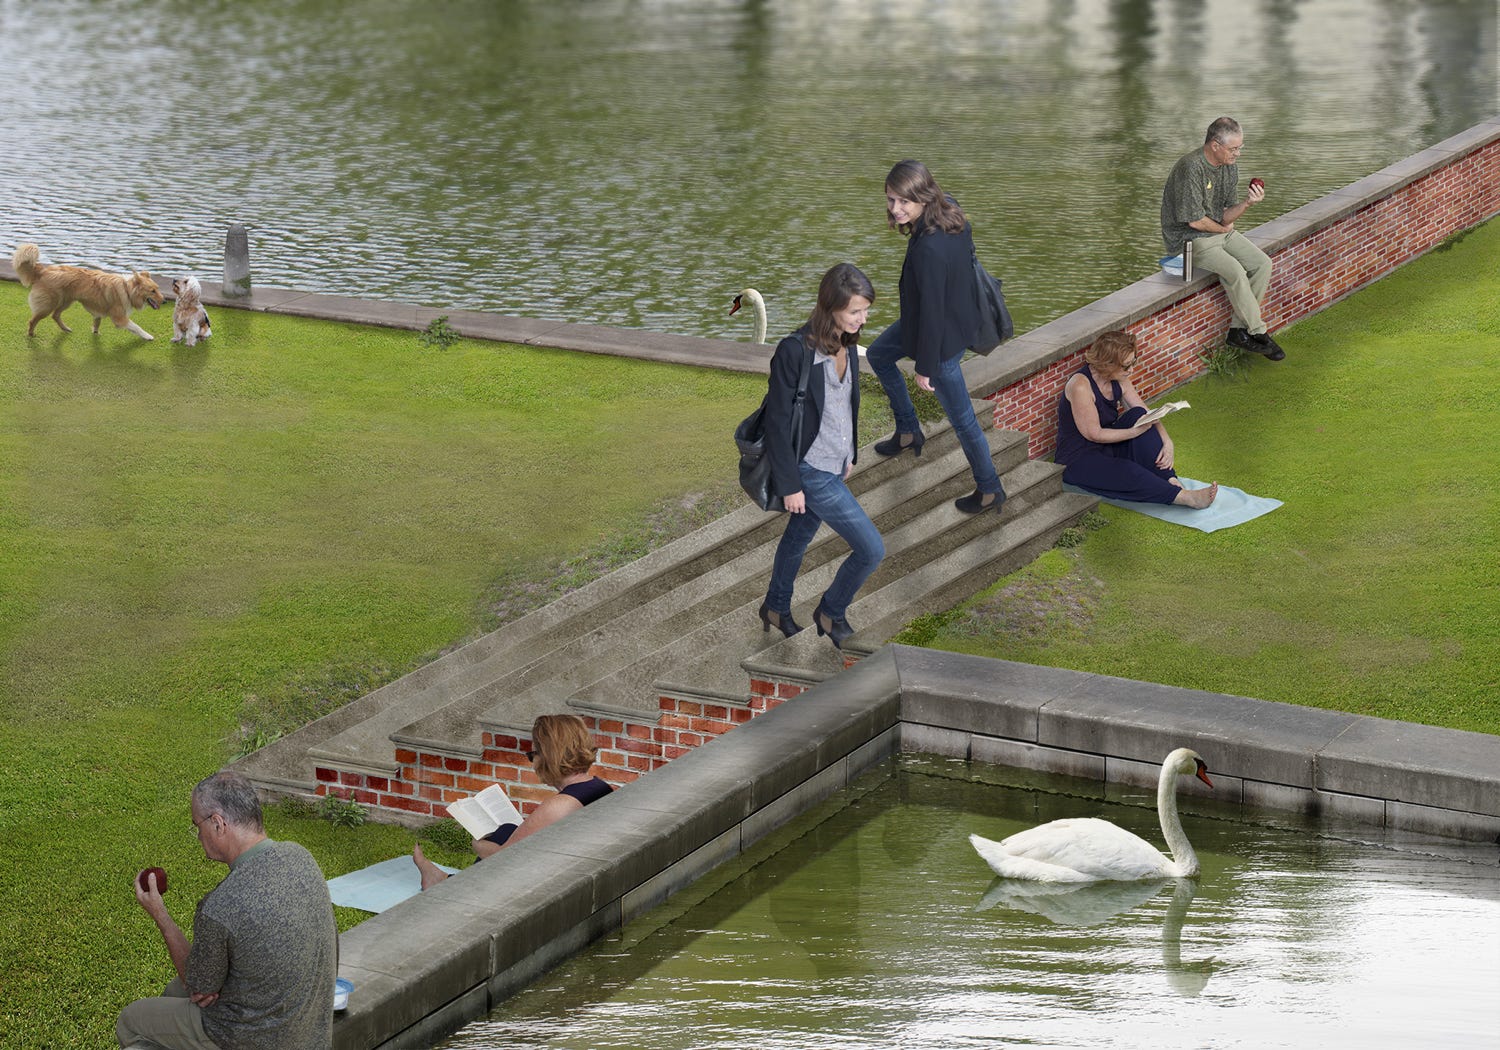
The final touch .... I have given her shadows and subtle reflections.
This illusion was made over a period of about a month: including preliminary pencil sketches, drawing the initial construction, taking about 130 photos from which the final few were chosen, and creating the composite.
This is a simple image. The complex ones are a lot of work .... !
CAMBIGUITIES is the official site of illusion creator David Macdonald. All images strictly copyright of the artist.